|
||
|
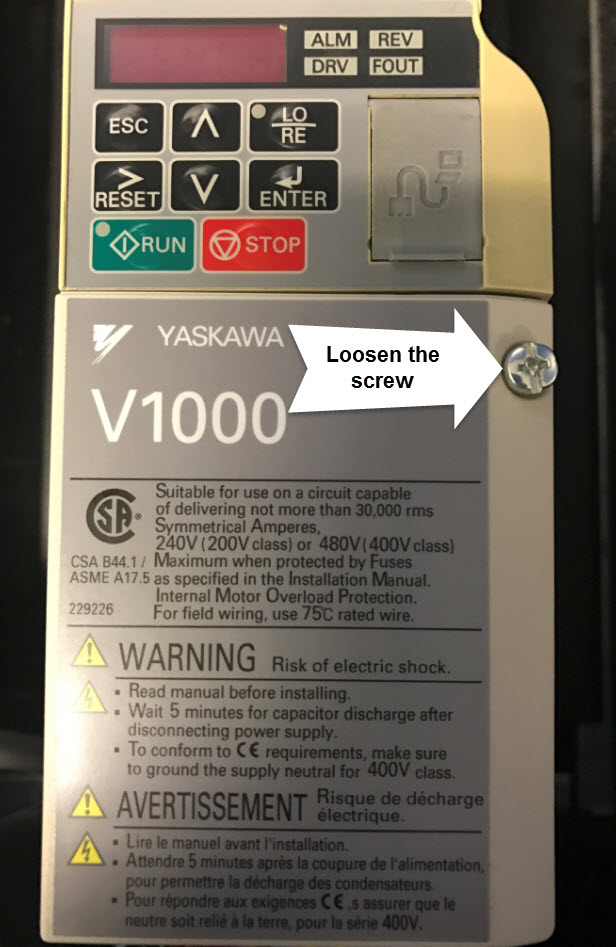
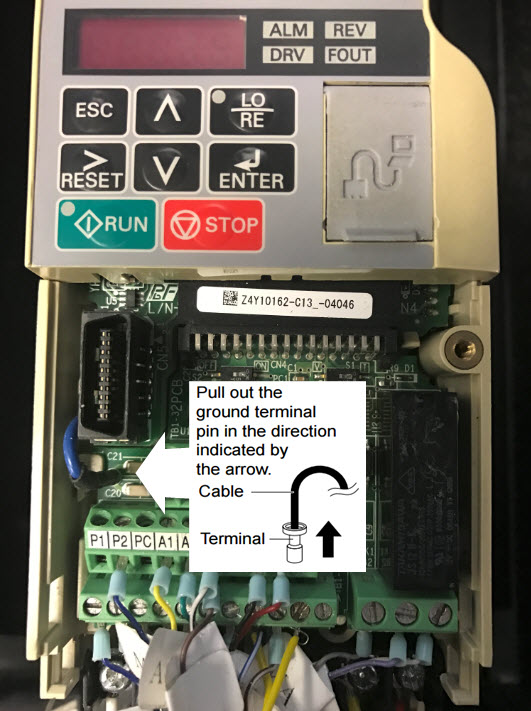
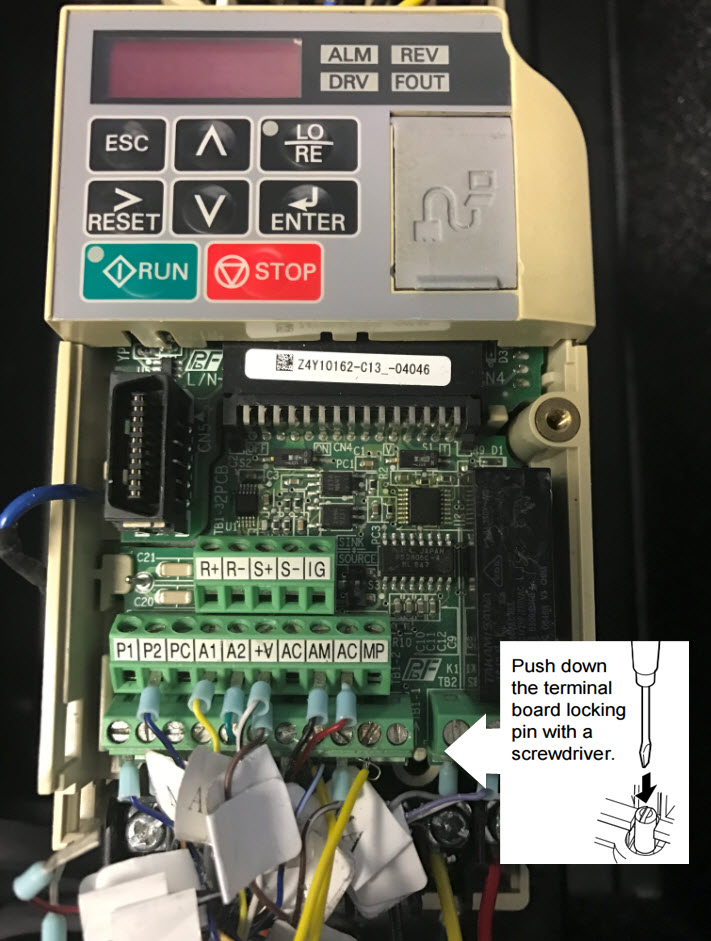
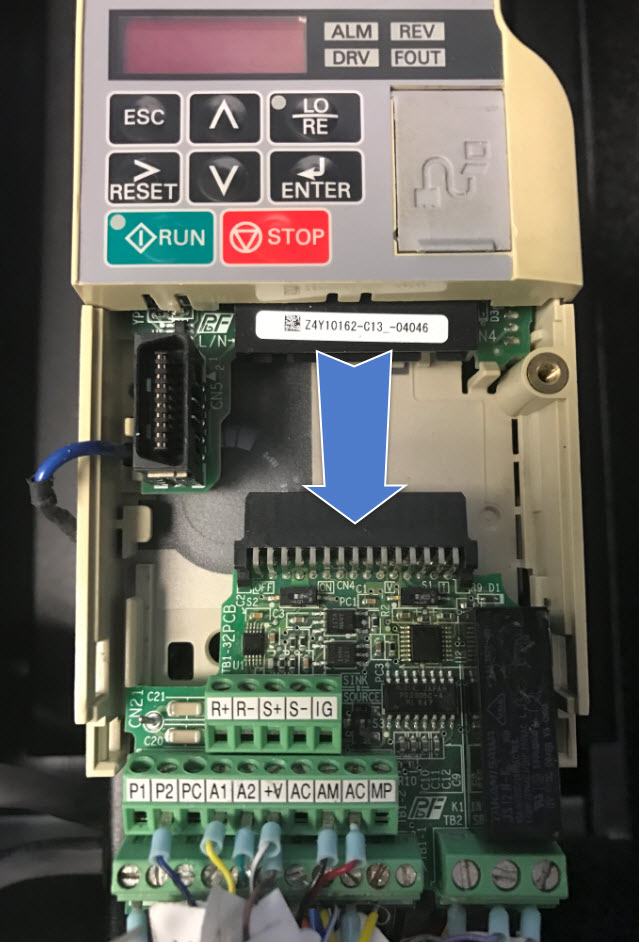
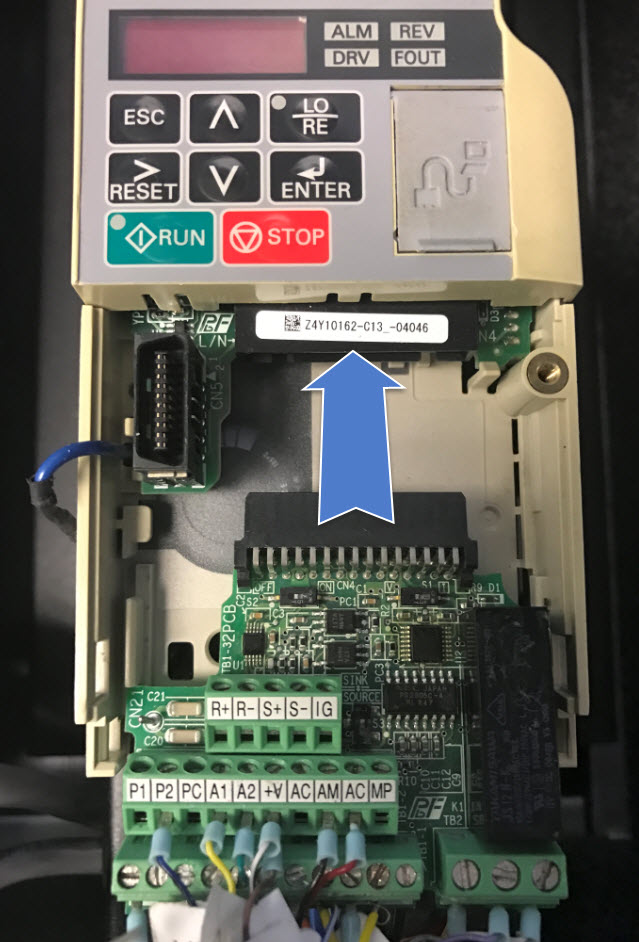
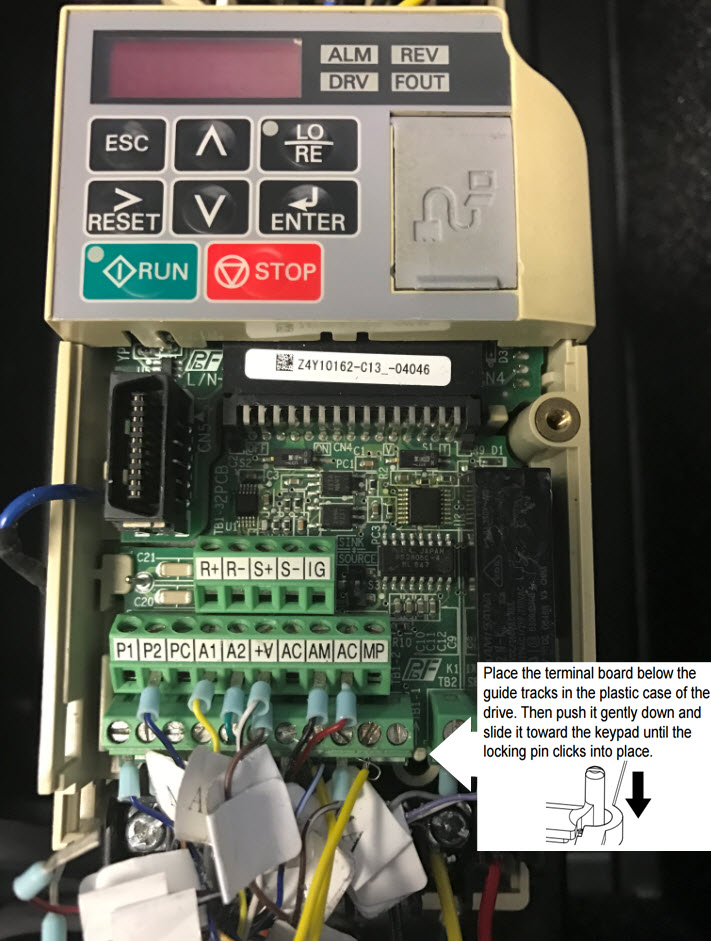
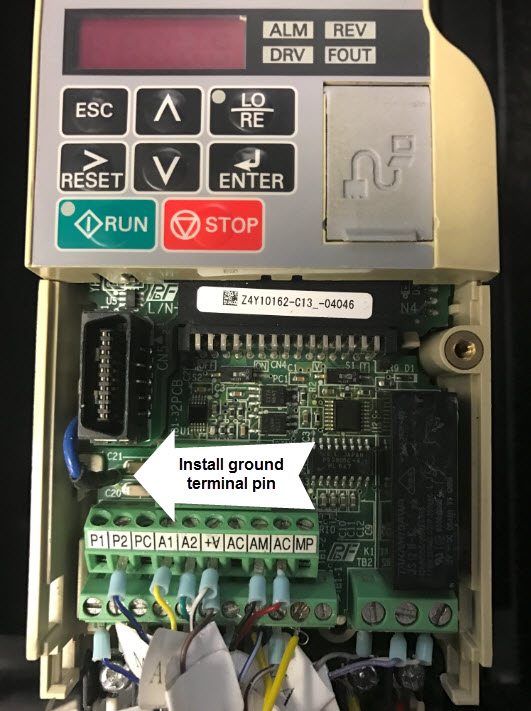
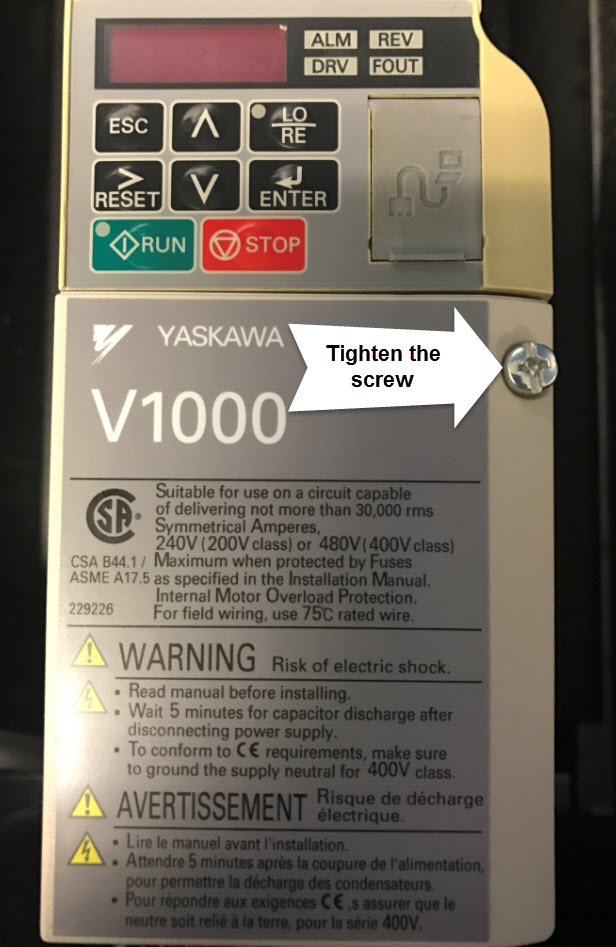
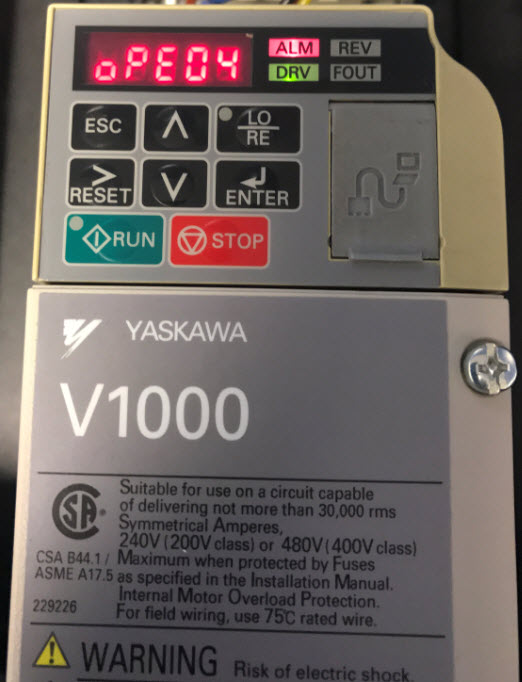
When replacing a V1000 drive or just replacing the control board of a V1000, there is no need to manually reprogram the replacement drive. The V1000 drive includes a modular I/O terminal board that facilitates replacing the drive quickly. The terminal board contains on-board memory that stores all the drive parameter settings. As long as the terminal board of a V1000 drive is not defective, it can be transferred to a replacement drive along with it's stored parameter settings. Note: The procedure below assumes the replacement drive being installed is the same model number as the original unit. If the terminal board will be transferred to a V1000 drive of a different voltage class or different output capacity, the parameters stored in the original terminal board will not work in the replacement drive. In these instances, the replacement drive will require manual programming after resetting the drive to factory parameters by setting A1-03 (Initialize Parameters) to 2220. |

|
||
|
WARNING! Electrical Shock Hazard. Never connect or disconnect wiring, remove connectors, PC boards or any component from the drive while the power is on. Failure to comply may result in serious injury. Before servicing, disconnect all power to the equipment. The internal capacitor remains charged even after the power supply is turned off.
Yaskawa requests that viewers do not embed this video on other online articles or websites. To share this video, share a link to Yaskawa's Solution Center page containing the video.
|
|
||
| V1000, V1000-4X, |
|
||
| Advanced Random Rotary Knife with Cam Blend, Air Compressor, Blister pack Thermoformer, Cartoner, Centrifuge, Conveyor, Crane/Hoist, Dynamometer, Elevators and Escalators, Extrusion, Fans/Blowers, Feed To Length, General Machinery, HVAC, Irrigation, Labeler, Laundry, Linear Flying Shear, Machine Tool, Mixer, Other, Packaging, Palletizer, Precision Grinding, Pump, Punch Press, Rotary Knife, Rotary Placer, Rotary Table Indexer, Screw Feeder, Semiconductor, Solar Cell Tabbing and Bussing, Solar - Textured Etching, Synch-Belt, Textile, Winding, |
| Last Modified Date: 07-22-2024 |
|
|